The Xilifox Image Optimizer plugin is BunnyCDN compatible, so you can use our plugin and this CDN server at the same time. A simple setup is required for this.
-
Step 1. #
Log in to the BunnyCDN dashboard.
-
Step 2. #
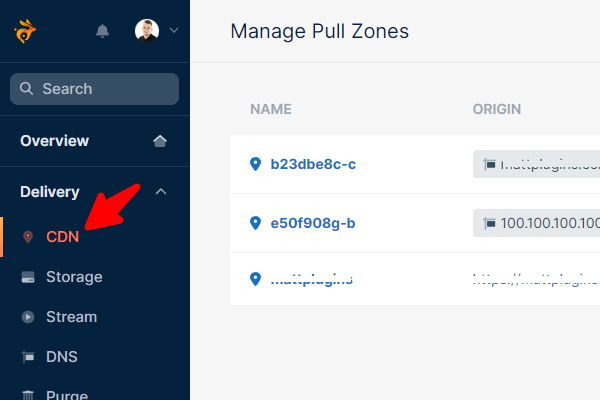
Navigate to the “CDN” link in the “Delivery” menu:
-
Step 3. #
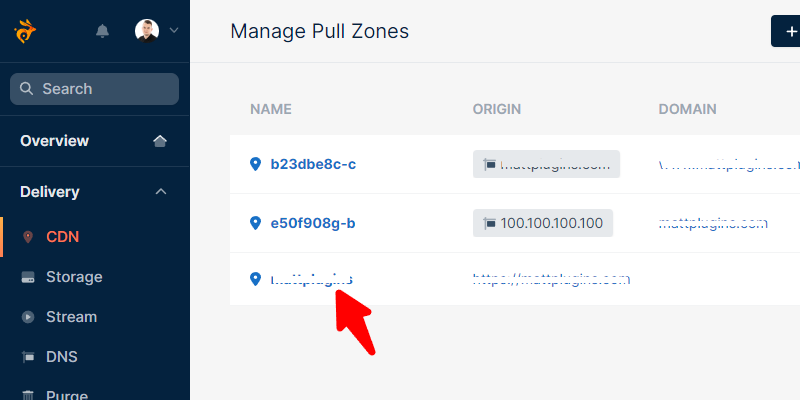
Go to the settings of the Pull Zone that is appropriate for your website:
-
Step 4. #
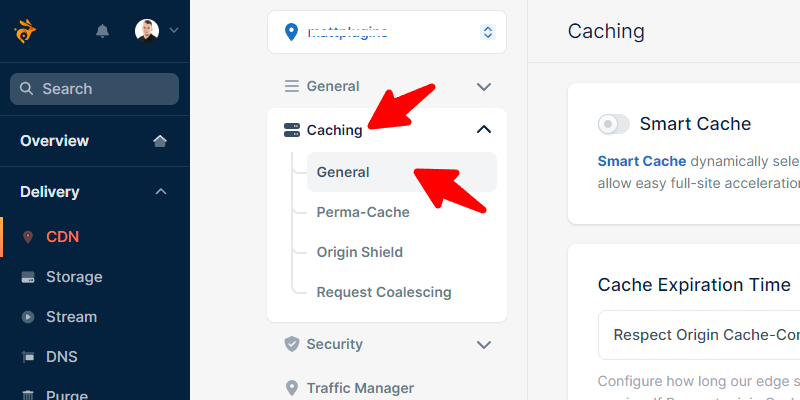
Navigate to the “General” link in the “Caching” menu:
-
Step 5. #
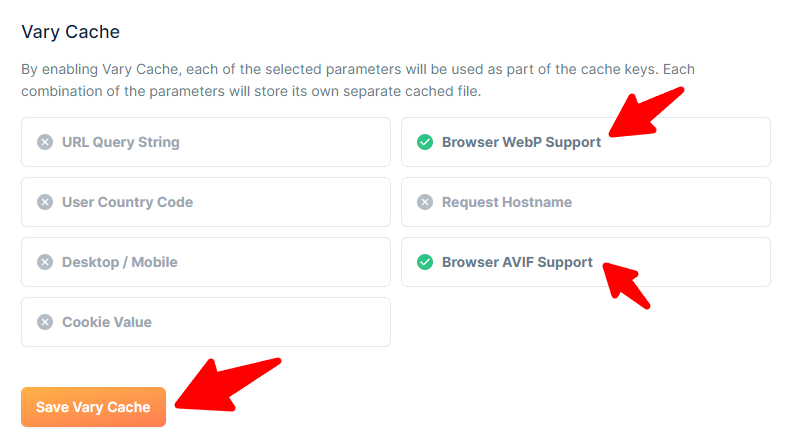
Activate the “Browser WebP Support” and “Browser AVIF Support” options. Then click the “Save Vary Cache” button.
-
Step 6. #
Repeat step 5 for each of the Pull Zones that is associated with your website:
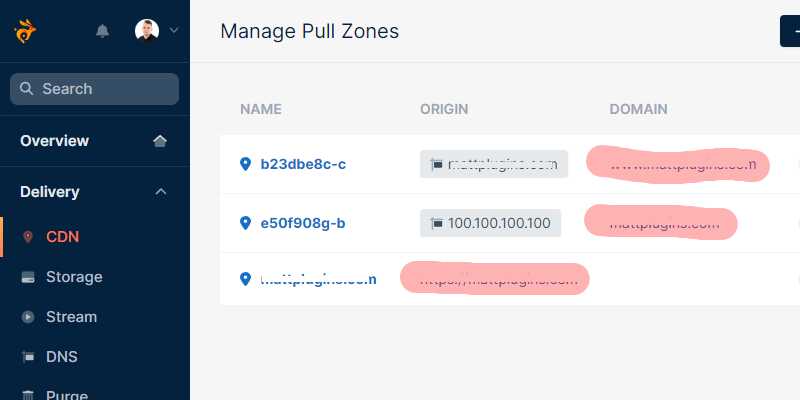
An associated website is a website that has your website domain in the “ORIGIN” column or in the “DOMAIN” column. If you use only CDN, there is usually one Pull Zone available (in this case: mattplugins.com)– additional Pull Zones (in this case: b23dbe8c-c i e50f908g-b) are generated when you use DNS Zone for your domain pointed to website in the BunnyCDN dashboard.
-
Step 7. #
When you have completed step 5 for each of the Pull Zones that is associated with your website, navigate to the “CDN” link in the “Delivery” menu:

-
Step 8. #
Go to the settings of the Pull Zone that is appropriate for your website:

-
Step 9. #
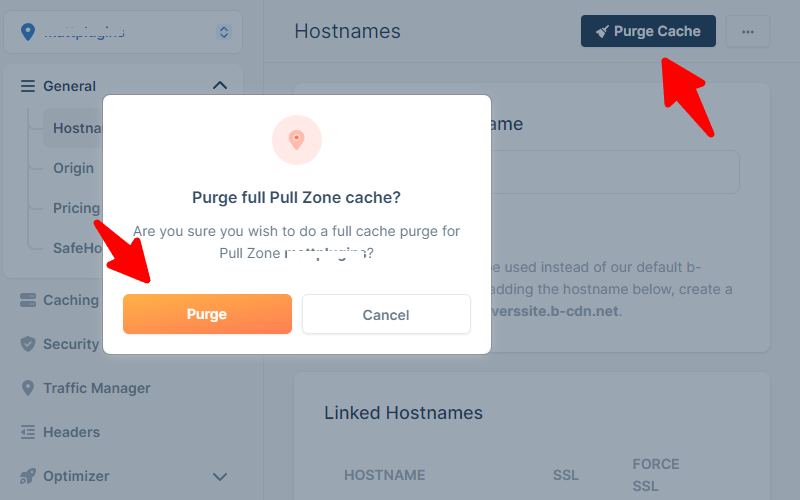
Click the “Purge Cache” button and confirm by clicking the “Purge” button:
-
Step 10. #
Repeat step 9 for each of the Pull Zones that is associated with your website (do this for those Pull Zones for which you did step 5):

Please remember that after making any change to the Bunny CDN configuration, you need to purge the Cache again for each of the Pull Zones that is associated with your website (clearing the cache of just one Pull Zone is not enough). Otherwise, these changes will not work properly.
